
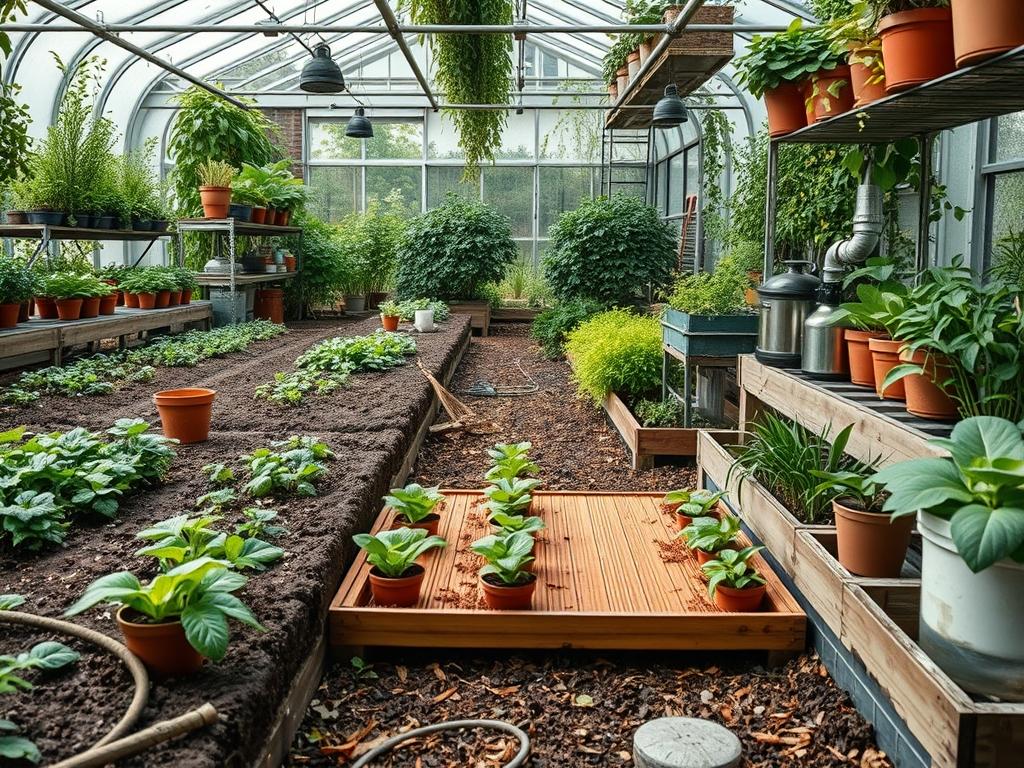
Starting a landscape project in the early spring often feels like a race against the calendar. Professional designers understand that the success of a premium outdoor environment depends on the synchronicity of the growing season and the hardscape installation. To achieve a lush, high impact curb appeal by May, one must often begin the biological process while the ground is still dormant. Using heat mats safely allows a landscape architect to bypass the volatility of early season soil temperatures, providing a controlled environment for germinating delicate species that will eventually populate retaining walls, borders, and focal points. This strategy ensures that when the topsoil is finally workable, the nursery stock is already robust, preventing the sparse look common in amateur gardens.
The integration of bottom heat into a landscape management plan requires a technical understanding of thermal regulation. While the goal is to accelerate cellular division in seeds, the safety of the structure and the health of the plants must remain the priority. A high quality waterproof heating mat should always be used in conjunction with a digital thermostat probe. By placing the probe directly into the soilless starting mix rather than on the mat surface, you ensure the root zone stays at the precise temperature required, usually between 70 and 85 degrees Fahrenheit. This precision prevents the common issue of leggy growth or damping off, which can ruin a batch of ornamental grasses or hardy perennials before they ever reach the outdoor beds.
Landscape Design Principles
In professional landscape architecture, every plant must serve a specific geometric or functional purpose. Achieving visual balance requires a level of uniformity that is difficult to find when relying on direct sowing in unpredictable climates. Using heat mats safely to start seeds indoors allows for a synchronized planting schedule. This ensures that all hedging or edging plants reach maturity at the same time, maintaining the intended symmetry of the design. When plants are started in a controlled environment, the architect can guarantee that the elevation layers in a multi tiered garden are populated with specimens of identical vigor.
Visual focal points, such as a centerpiece urn or a natural stone planter, require high performance plants that can withstand the stress of transplanting. By using bottom heat, you encourage deeper root development in those early stages. This structural strength is vital when the plants are eventually integrated with walkways and hardscaping elements where soil volumes may be limited. Furthermore, a well timed start allows the designer to plan the irrigation zones more effectively, as the water demands of a mature seedling are far more predictable than those of a germinating seed in an open field.
Plant and Material Selection
The choice of plant material determines the long term maintenance requirements and aesthetic longevity of the space. Designers must choose species that not only respond well to early warmth but also fit the geographical constraints of the site. The following table outlines standard selections for a professional grade spring landscape.
| Plant Type | Sun Exposure | Soil Needs | Water Demand | Growth Speed | Maintenance Level |
| :— | :— | :— | :— | :— | :— |
| Purple Coneflower | Full Sun | Well drained | Moderate | Medium | Low |
| Salvia Nemorosa | Full Sun | Sandy loam | Low | Fast | Medium |
| Creeping Thyme | Full Sun | Porous soil | Very Low | Fast | Low |
| Hosta Gigantea | Partial Shade | Humus rich | High | Slow | Medium |
| Fescue Grass | Sun to Shade | Compacted clay | Moderate | Fast | High |
When selecting materials for the germination phase, always opt for UL listed electrical components. The heat mat should be sized slightly smaller than the propagation tray to ensure air circulation around the edges. For the growing medium, a blend of peat moss, perlite, and vermiculite provides the aeration necessary to prevent root rot while the mat stimulates growth. Avoid using garden soil in trays; it is too heavy and often harbors pathogens that thrive in the warm, moist environment created by the mat.
Implementation Strategy
The transition from a controlled germination environment to the final backyard layout involves a rigorous implementation strategy. First, the site must be prepared with proper grading to ensure that water moves away from the foundation and toward designated drainage basins. Before the seedlings are moved outside, the beds should be prepared with a high quality compost tilled to a depth of 6 inches. This creates a welcoming environment for the young roots that have been nurtured on the heat mats.
Once the seedlings have been hardened off, the layout should be marked using stake and string or landscape marking paint to reflect the architectural drawings. Install the plants in a staggered pattern to allow for natural spread without overcrowding. Apply a 3 inch layer of organic mulch around the base of the plants, taking care to keep the mulch away from the stems to prevent crown rot. This layer helps regulate soil temperature, mimicking the stability provided by the heat mats during the early life stages. Finally, secure any drip irrigation tubing with landscape staples to ensure consistent moisture delivery as the plants establish themselves in the native soil.
Common Landscaping Failures
One of the most frequent errors in landscape establishment is the failure to account for soil compaction. Even the healthiest seedlings from a heat mat will struggle if the planting site has been compressed by heavy machinery or foot traffic. Compaction destroys the macro pores in the soil, preventing oxygen from reaching the roots and leading to stunted growth. Using a broadfork or rototiller to loosen the earth before planting is essential.
Another common pitfall is improper drainage management. If the elevation of the garden bed is lower than the surrounding terrain, water will pool, drowning the root systems of new transplants. Architects must ensure that the finished grade allows for a 2 percent slope away from the main structures. Additionally, many gardeners fail to adjust their irrigation schedules as the seasons change. A system set for the dampness of April will surely dehydrate a garden in the scorching heat of July, leading to the loss of expensive plant material.
Seasonal Maintenance
Landscape management is a year round commitment that evolves with the climate. In the Spring, focus on soil testing and the application of slow release fertilizers. This is also the time to refresh mulch layers and check irrigation emitters for clogs caused by winter debris. As you move into Summer, the priority shifts to hydration and pest management. Monitor for signs of heat stress and ensure that the moisture sensors in your irrigation system are functioning correctly to prevent overwatering.
When Autumn arrives, the focus turns to structural maintenance and preparation for dormancy. This is the ideal time for aeration and overseeding of turf areas. Prune any dead or diseased wood from shrubs and ornamental trees to prevent snow damage. In Winter, the landscape architect must protect the site from the elements. Use burlap wraps for sensitive evergreens and ensure that all exterior faucets are winterized. Planning for the next year begins now, as you clean your propagation trays and inspect your heat mats for any frayed wires or damage, ensuring they are ready for the next cycle of spring germination.
Professional Landscaping FAQ
How long should I leave the heat mat on?
Leave the mat on 24 hours a day until the first signs of germination appear. Once roughly 50 percent of the seeds have sprouted, disconnect the power or lower the temperature to prevent the seedlings from becoming leggy.
Can I use a heat mat on a wooden table?
Yes, but you should place a heat resistant buffer or an insulated tray beneath the mat. This prevents moisture buildup between the mat and the wood, protecting the furniture surface from potential warping or water damage during the watering process.
Do heat mats require a special electrical setup?
Standard 120V outlets are sufficient, but you should always plug the mat into a GFCI protected outlet. Since you are working with water and electricity in close proximity, the ground fault circuit interrupter provides a vital layer of safety.
Will the mat warm the air around the plants?
No, heat mats are designed for conductive heating, not radiant air heating. They warm the soil directly. To raise the ambient air temperature, you would need a space heater or a humidity dome to trap the rising warmth near the foliage.
When is it too late to start seeds on a mat?
It depends on the days to maturity for the specific species. Generally, if you are within 4 weeks of the last frost date, the benefits of the heat mat are diminished for long season crops but still useful for fast growers.